dev
12. Vue3 + Nodejs 연동
뫼B우스
2023. 4. 15. 20:41
반응형
이번은 Vue3와 Nodejs와 연동하는 것에 대해 소개한다.
Nodejs는 다른 블로그에서도 많이 소개를 하니 비슷하게 구축을 하면 될것이다.
Nodejs 구축 및 Vue3 axios 설치
Vue3에서 Nodejs 와 연동하기 위해 axios 패키지를 사용한다.
npm install axios
설치가 완료되었다면, axios를 사용하여 api를 호출하면 된다.
이것도 방법이 여러가지가 있는데,
자신에 적합한 방법을 선택하여 사용하면 된다.
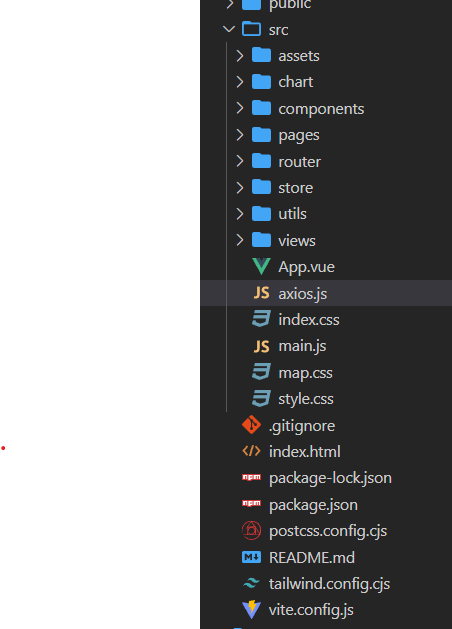
axios.js 파일을 만들고 모듈화하여 사용하였다.
파일 내용은 다음과 같다.
import axios from "axios";
import store from "./store";
const axiosClient = axios.create({

})

axiosClient.interceptors.request.use(config => {
    config.headers.Authorization = `Bearer ${store.state.user.token}`;

    return config;
})

export default axiosClient;
할일은 store 폴더를 만들고 그 아래 request 관련 내용을 작성할 index.js를 만들어 주면된다.
해당되는 내용은 다른 블로그에서 자세히 설명하고 있으니 참고하면 된다.
import {createStore} from "vuex";
import axiosClient from "../axios";

const store = createStore({
    state : {
        weather:{
        loading: false,
        data:{}
    },

    getters : {},
    actions : {
            getWeatherInfo({commit}){
            commit("setWeatherLoading", true);
            return axiosClient.get(`/pyapi/winfo`)
                    .then((res)=>{
                    commit('setWeatherData', res.data)
                    commit("setWeatherLoading", false);
                    return res;
                })
                .catch(error => {
                    commit("setWeatherLoading", false);
                    return error;
                })
        },

    },
    mutations : {
        setWeatherLoading: (state, loading) => {
            state.weather.loading = loading;
        },
        setWeatherData:(state, data) =>{
            state.weather.data = data;
        },
    },
    modules : {}
});

export default store;
필자는 vite를 사용하였기 때문에 다양한 API 호출을 원할 경우 vite.config.js 파일을 수정하여 경로를 설정하면 된다.
import { defineConfig } from 'vite'
import vue from '@vitejs/plugin-vue'

// https://vitejs.dev/config/
export default defineConfig({
  plugins: [vue()],
  server: {
    //    https: true,
      port: 8080,
      proxy : {
        "/api" : {
            target : 'http://127.0.0.1:18000',
            changeOrigin: true
        } ,
        "/pyapi" : {
          target : 'http://127.0.0.1:15123',
          changeOrigin: true
        }
      }
    }
})
/api 와 /pyapi 같이 다양한 api를 호출할 수 있는 경로를 설정할 수 있다.
여기까지 따라왔다면 백앤드 서버와 연결할 수 있는 통로는 마련되었다.
그럼 다음은 Vue3 내에서 axios를 활용하여 백앤드 서버 호출에 관련된 내용을 소개하겠다.
반응형